Securing Remix Apps with Asgardeo
Remix is a relatively new web framework that leverages the power of React to build fast, scalable, and dynamic web applications.
- It is built on top of React Router.
- Remix focuses on providing a better developer experience with server-side rendering, client-side routing, and data loading.
- It has been presented as an alternative to the popular React framework Next.js.
Implementing user login in your Remix app is essential for managing access, personalizing user experiences, and securing the application. It helps improve user interaction, protects user data, boosts engagement, and ensures compliance with industry regulations.
In this guide, we will explore how to secure your Remix applications using Asgardeo, including setting up user login, integrating an OpenID Connect based Identity Provider (IdP), and following best practices to safeguard your users.
Create Your Remix App
We will use the create-remix command to generate a new Remix project with a basic template.
npx create-remix@latest
In this guide, we’ll be using TypeScript. However, you can still follow along even if you prefer to use JavaScript. You can use the simpler Javascript template instead.
Once this command is executed, you will be prompted with various configuration options for your application. Provide a name for the project (eg: ./remix-asgardeo-sample) and use the default configuration options for the rest. If everything goes smoothly, your terminal output should resemble the following.
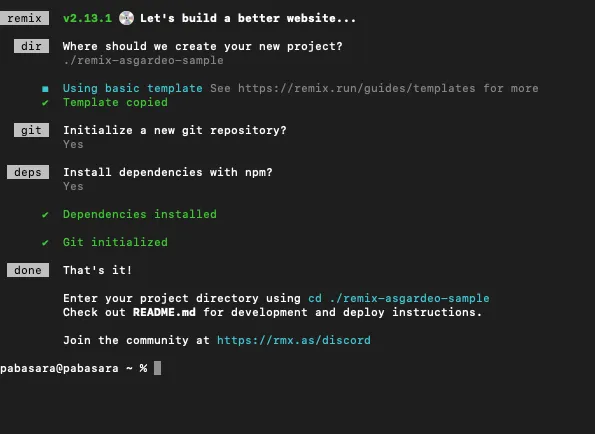
Running this command will generate a ready-to-use Remix project set up with TypeScript. Enter the project directory using the shown command and open it with your preferred code editor.
Now, you can run the application in development mode to see real-time updates and debug the app as you go. Run the following command in the root directory.
npm run dev
If all goes well, you should see the following result in the terminal and the app will start running on port 5173 by default.
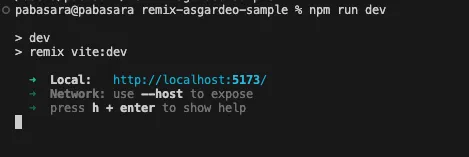
Go to http://localhost:5173 on your browser and confirm that everything is set up correctly.
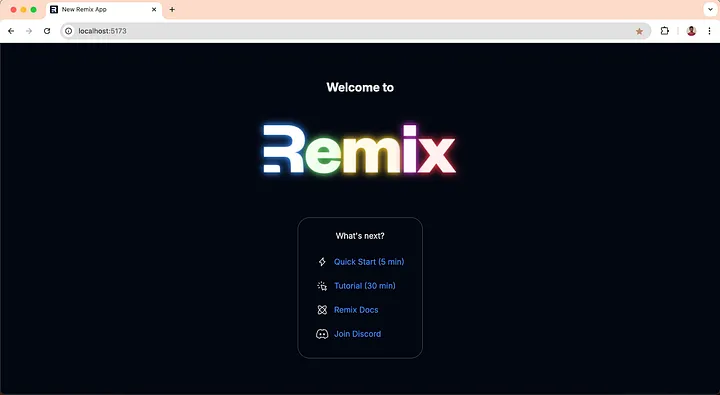
At this point, you have a simple yet functional Remix app. Next, we will integrate user authentication for the application.
Install Remix Auth AsgardeoStrategy
In this guide, we will use Asgardeo as the Identity Provider (IdP). If you don’t have an Asgardeo account, you can sign up for a free one here. Asgardeo’s free tier provides more than enough resources for the app development phase.
Remix Auth is a complete open-source authentication solution for Remix.run applications. Heavily inspired by Passport.js, but it is completely rewritten from scratch to work on top of the Web Fetch API.
Remix Auth can be dropped into any Remix-based application with minimal setup.
We will use the Remix Auth strategy for Asgardeo to set up Asgardeo as the IdP for our Remix application.
Change the directory to the Remix project that you created in the previous section (cd ~/remix-asgardeo-sample) and run the following commands to install remix-auth and remix-auth-asgardeo.
npm install remix-auth
npm install @asgardeo/remix-auth-asgardeo
Add Authentication to your Remix app
So far, we have created a sample Remix app. Next, let’s see how to integrate login functionality into our Remix application.
The OpenID Connect (OIDC) specification offers several methods, known as grant types, to obtain an access token in exchange for user credentials.
This example uses the authorization code grant type.
In this process, the app first requests a unique code from the authentication server, which can later be used to obtain an access token.
For more details on the authorization code grant type, please refer to the asgardeo documentation.
Asgardeo will receive this authorization request and respond by redirecting the user to a login page to enter their credentials. When the user authenticates successfully, Asgardeo will redirect the user back to the application with the authorization code. The application will then exchange this code for an access token and an ID token.
Register your application in Asgardeo
To integrate your application with Asgardeo, you first need to create an organization in Asgardeo and register your application.
- Sign up for a free Asgardeo account
- Sign into Asgardeo console and navigate to Applications > New Application.
- Select Traditional Web Application
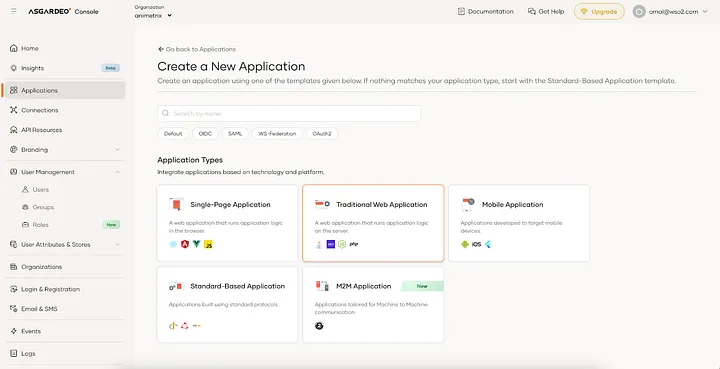
- Select OpenID Connect (OIDC) as the protocol.
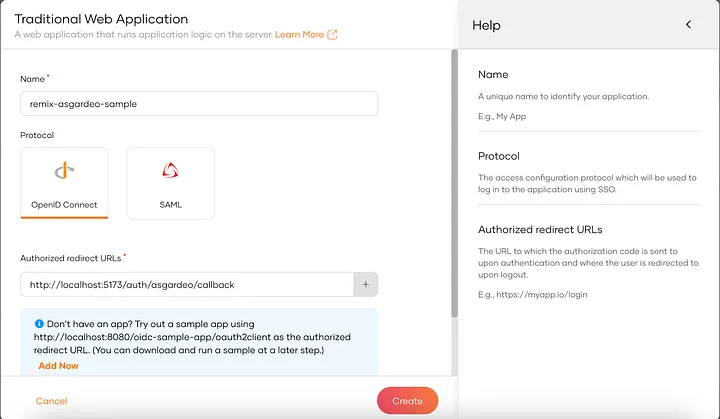
- Complete the wizard popup by providing a suitable name and an authorized redirect URL
- Once you create the application, you will be directed to the Quick Start tab of the created application which will guide you to integrate login to your application in several technologies.
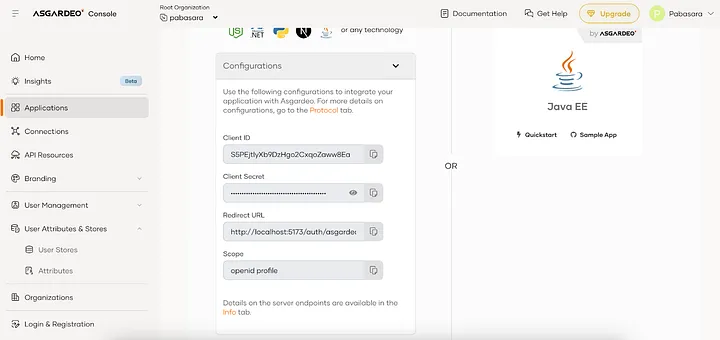
Implementing login in the Remix Application
First let’s create the Asgardeo strategy instance by executing the following commands and adding the given content.
mkdir app/utils
touch app/utils/asgardeo.server.ts
Next let’s set up a login route for the application. Its content should be as below:
touch app/routes/login.tsx
Additionally, we need to set up the auth/asgardeo and auth/asgardeo/callback routes in the app/routes directory. Let’s create 2 new files as follows:
touch app/routes/auth.asgardeo.tsx
touch app/routes/auth.asgardeo.callback.tsx
Note how the redirects are configured in the app/routes/auth.asgardeo.callback.tsx file so that the user is redirected to the index page if the login is successful and to the login page if the login fails.
We need to make sure that only the login page is shown to the users before logging in and other pages are restricted. When a user is logged in, they can access other pages. To identify if a user is authenticated, we can use the isAuthenticated method from the Authenticator class.
Let’s modify the app/routes/_index.tsx file as follows to prevent unauthenticated users from accessing:
Now only authenticated users can access the index page. If a user is not authenticated, they will be redirected to the login page.
Setup Environment Variables
You can see that in files like app/routes/auth.logout.tsx and app/utils/asgardeo.server.ts we are using few environment variables with the prefix process.env._.
These environment variables contain information like client ID, client secret, and base url for Asgardeo login.
To configure the environment variables in your development environment, you can create the .env file in the root directory of your project and add the environment variable values from the Application you created in the Asgardeo console.
touch .env
Add the following content to the .env file.
ASGARDEO_CLIENT_ID=<client_id>
ASGARDEO_CLIENT_SECRET=<client_secret>
ASGARDEO_BASE_URL=https://api.asgardeo.io/t/<asgardeo_organization_name>
ASGARDEO_LOGOUT_URL=https://api.asgardeo.io/t/<asgardeo_organization_name>/oidc/logout
ASGARDEO_RETURN_TO_URL=http://localhost:5173/login
Make sure to replace the placeholders with the actual values.
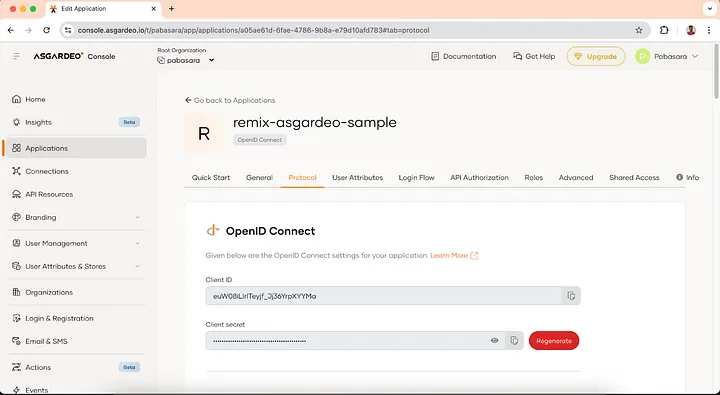
Implementing logout in the Remix Application
We will set up the auth/logout route in the application by creating a new file.
touch app/routes/auth.logout.tsx
And we will add a logout button to the index page. Let’s modify the app/routes/_index.tsx file as follows:
Now we can try the login and logout functionality in the application.
Trying out login and logout
- Sign into Asgardeo console and navigate to User Management > Users and create a new user.
- Start the Remix app with the following command.
npm run dev
- Open
http://localhost:5173on your browser and you will be redirected to the login page. When you click on the login button, you will be redirected to the Asgardeo login page.

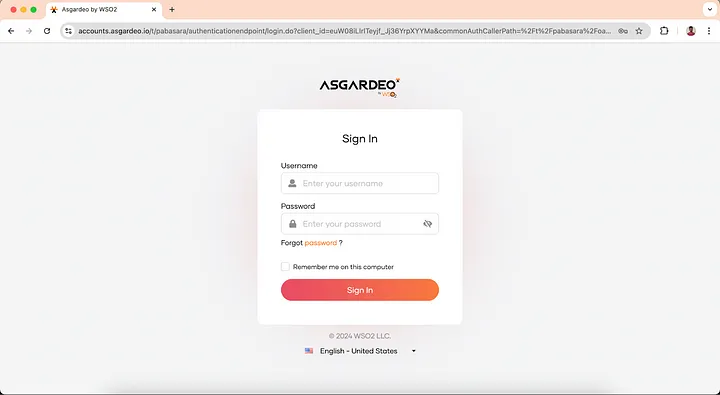
-
Login with the user you created previously and you will be redirected to the index page.
-
You can see the logout button at the end of the index page. Click on the logout button and you will be logged out from the application.
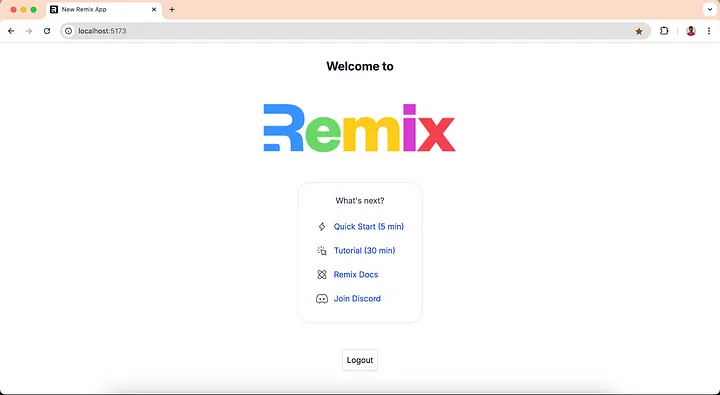
Now we have a functional Remix app with login and logout capabilities powered by Asgardeo!
After a user has authenticated with Asgardeo, the application might need to access the user information to provide a personalized experience.
In the next article, we will see how to access the required user information after authentication.